
You can encourage customers to subscribe to a newsletter at checkout by connecting it to Email Campaigns or a Mailchimp account. This adds a Join our mailing list checkbox below the email field on your checkout page.
The subscribe option is a great way to build your mailing list, increase customer loyalty, and encourage repeat purchases.
The information in this guide also applies to donations checkout.
Watch a video
Step 1 - Create a list
To start, create a mailing list in Email Campaigns or Mailchimp. This lets you store subscribers' information in a specific mailing list.
Email Campaigns
If you use Email Campaigns for newsletter storage, visit Building mailing lists to learn how to create a list.
You can also skip this and connect to the default list in the next step.
Mailchimp
If you use Mailchimp for newsletter storage, you'll need to create a new, empty audience in Mailchimp. visit Mailchimp's documentation to learn how to create a new audience.
Step 2 - Connect your account
To connect to Email Campaigns:
- In the Home Menu, click Commerce, then click Checkout.
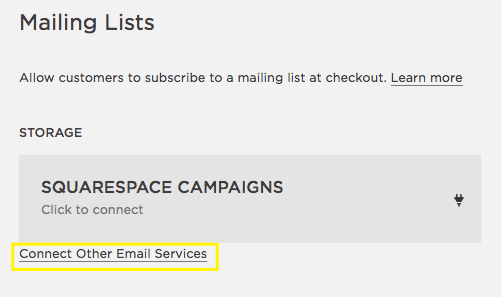
- Scroll down to Mailing lists, and click Select a mailing list.
- Click Squarespace Campaigns.
- Select the Mailing list drop-down menu to choose a mailing list to store submissions. If you haven't built a mailing list yet, visit Building a mailing list to set one up.
- Under Checkbox label, customize the text that prompts customers to subscribe.
- Click Save.
To connect to Mailchimp:
- In the Home Menu, click Commerce, then click Checkout.
- Scroll down to Mailing list, and click Select a mailing list.
- Click Connect other services, then click Mailchimp.
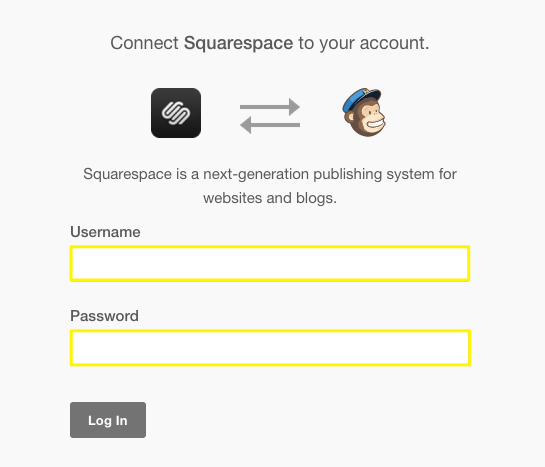
- Log in using your Mailchimp username and password.
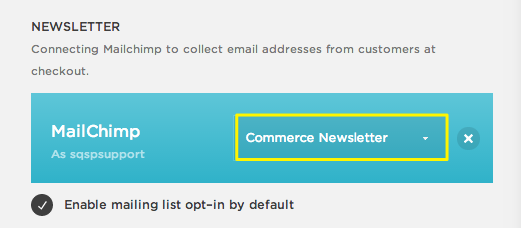
- Select an audience from the drop-down menu.
Step 3 - Enable or disable automatic opt-ins (Mailchimp only)
If Mailchimp is your storage option, customers will automatically opt into your newsletter at checkout by default. To disable automatic opt-ins, uncheck Require double opt-in after subscribing.
Certain merchants may need to uncheck this option to comply with local laws and regulations, such as anti-spam regulations. Canadian merchants can learn more by visiting Tips for Canadian merchants.
Note: Squarespace doesn't provide specific advice on laws or requirements applicable to your site or business.
Step 4 - Save
When you're finished, click Save.
Your customers will now see a Subscribe to our email list checkbox below the email field on the checkout page. If they subscribe, their name and email address will be added to the mailing list.
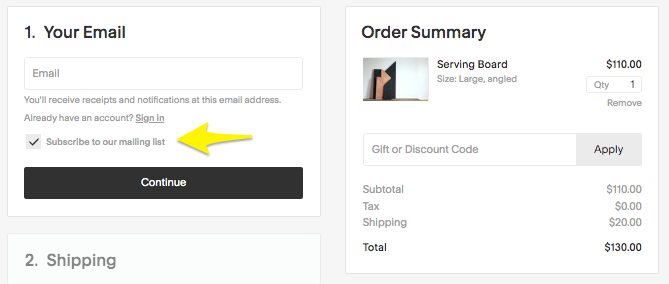
Note: The newsletter subscribe option won't display for customers who check out with Apple Pay.
Next steps
There are other ways to grow your subscriber list and engage your customers.
- Use the Newsletter Block or Form Block to add a subscription form to a page, sidebar, or footer.
- Create an automated campaign to send a marketing email, or a series of emails, to customers after they make a purchase, in addition to the standard Order Confirmed email.
Comments
0 comments
Article is closed for comments.